Cogniteam/ROSCUBE
System Level ROScube Pico Flashing Image
Set ROScube Pico into recovery mode
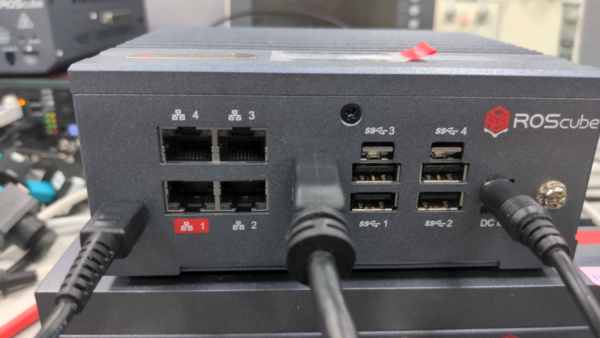
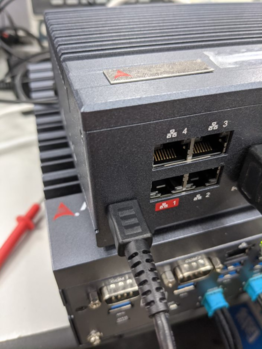
a. Connect power cable to ROScube Pico.
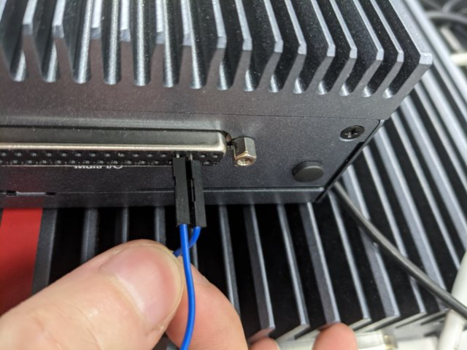
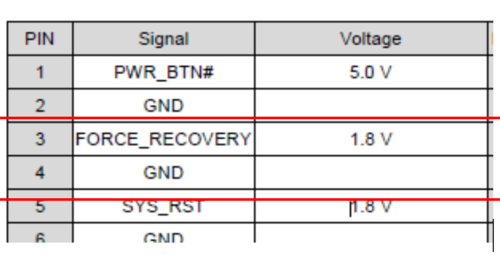
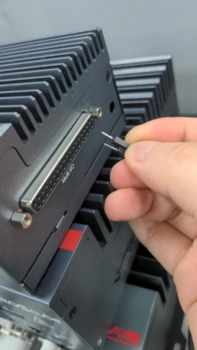
b. Short Pin 03 and Pin 04 and hold short status.
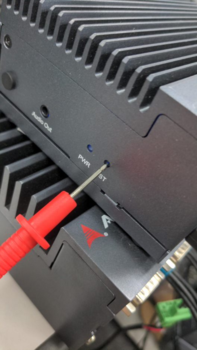
c. Keep Pin 03 and Pin 04 short status and press Reset button.
d. Release Short pins and pull out cable.
Now ROScube Pico is in recovery mode.
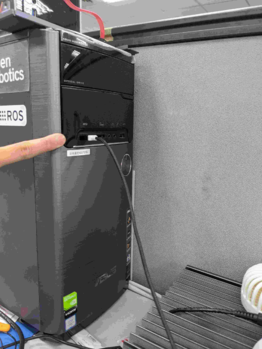
Connect Host PC and ROScube Pico with micro usb cable
Prepare released image on Host PC
Assuming image’s file name is mfi_npn2_nvidia-sample-rootfs-bionic_l4t-32-5-0-kernel-1-0-8.tar.xz. Un-archive this file first. <syntaxhighlight lang="bash" line='line'> $> tar xvf mfi_npn2_nvidia-sample-rootfs-bionic_l4t-32-5-0-kernel-1-0-8.tar.xz $> cd mfi_npn2_nvidia-sample-rootfs-bionic_l4t-32-5-0-kernel-1-0-8 </syntaxhighlight>
Then, use BSP internal tool, nvmflash.sh to run the flashing procedure. Please make sure your Host PC has attached to ROScube Pico.
<syntaxhighlight lang="bash" line='line'>
$> cd mfi_rqp_nx
$> sudo ./nvmflash.sh
</syntaxhighlight>
Note:
You may need to input your host PC’s root password when flashing the image.
Note: The flashing procedure might take 8 ~ 10 minutes.
Boot Jetson Xavier from M.2 NVMe SSD
The basic idea of these steps is to copy rootfs from SD/emmc to SSD. After the system has loaded the image from SD/emmc, the boot process will be transferred to SSD. This is how you can make Xavier to boot from SSD. But remember, if you are using Xavier NX, you still need SD card plugged in order to boot the device cause NX doesn’t allow you to boot directly from SSD.
Format the SSD you have installed
Install your and SSD and boot, then open the menu and search disk.
Launch the disk app, then you’ll see this.
In example is a 240 GB SSD. The size of your Partition 3 depends on the SSD you installed. Then press ctrl + F to start formatting your SSD.
When you see this, click Format to continue. Then you’ll get a 240 GB free space.
Now let’s create Partition
Choose the size of your main partition. We suggest you to leave 16 GB for swap file.
Give your volume a name. Then click Create. Then you’ll see this coming.
Now you have successfully created a volume, but it’s not mounted yet. Let’s mount it using shell command. Jetsonhacks have already integrated those commands into a shell script. Let’s run it to make Xavier boot from SSD.
Copy the rootfs from SD card to SSD
First of all, you need to clone the project.
<syntaxhighlight lang="bash" line='line'> $> git clone https://github.com/jetsonhacks/rootOnNVMe.git $> cd rootOnNVMe </syntaxhighlight>
Then copy rootfs file to your SSD.
<syntaxhighlight lang="bash" line='line'> $> ./copy-rootfs-ssd.sh </syntaxhighlight>
Enable booting from SSD
You need to run.
<syntaxhighlight lang="bash" line='line'> $> ./setup-service.sh $> sudo reboot </syntaxhighlight>
