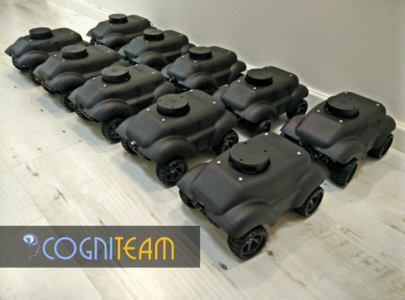
Category:Hamster
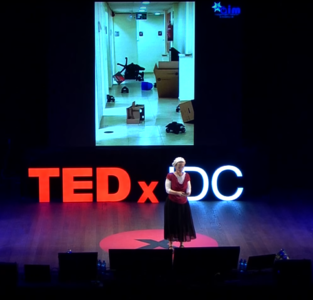
Hamster in TEDX
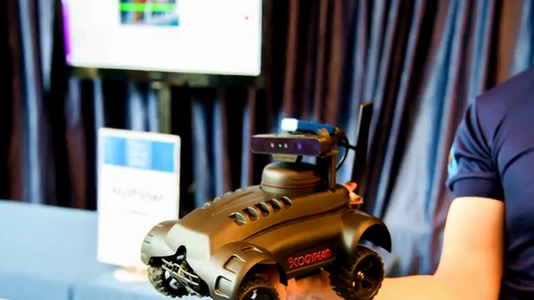
Hamster with Movidius

Ben Gurion Airport


Contents
Hamster system
Quick start
1. Install hamster server - multi-master configuration https://wiki.cogni.io/index.php/HamsterServer (if your robot was shipped before January 2018 - single-master configuration) 2. Turn on robot 3. Control your agents in hamster.perspective -rqt with mouse, joystick and keyboard:
agents 1-10 from 1 ... 0 keyboard buttons
agents 11-20 shift+1 ... shift+0
4. See your robot in hamster.rviz For agents 3-20 change agent number in topic names in rviz
Hamster research teams
The Hamster is being used as a research platform at various institutes
- Ben Gurion University
- Bar Ilan University
- College of Management
- Holon Institute of technology
- Mitsubishi Research lab
- Intel Innovation Lab
Hamster research papers
- On the Use of Teamwork Software for Multi-Robot Formation Control
- Maintaining Communication in Multi-Robot Tree Coverage
- Control Architecture Design for Autonomous Vehicles
Hamster models
HamsterV3

HamsterV4
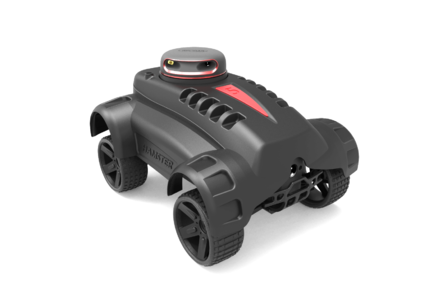
HamsterV5


Robot's components
Each robots has two raspberry pi computers on board - master and slave, and a low level controller.
Master - Has a wifi connection to the hamster network, provides network access to slave. It also connects to the slave computer directly via ethernet cable.
Slave - Second computer, used primarily for GPS data broadcasting, connected to hamster network via master.
Low level controller - Arduino based board responsible for interaction with hardware components.
Operation modes
Hamster robot is capable of running mapping, localization or outdoor localization (using GPS and IMU).
Switching between modes:
In order to change the operation mode publish std_msgs/String message to /mapping_command topic, containing on e of the following strings:
- slam
- localization
- outdoor
Example: <syntaxhighlight lang="bash" line='line'> rostopic pub /mapping_command std_msgs/String "data: 'slam'" </syntaxhighlight> <syntaxhighlight lang="bash" line='line'> rostopic pub /mapping_command std_msgs/String "data: 'localization'" </syntaxhighlight>
When switching from mapping to localization mode, the map is saved by the server, and loaded for localization algorithm.
All maps saved inside ~/hamster_ws/src/hamster_server_launch/maps$
Hamster wireless network
Router
- SSID 2.4Ghz: hamster_net
- SSID 5.0Ghz: hamster_net5
- Password: hamsterHAMSTER
- Network: 10.0.2.0
- Netmask: 255.255.255.0
- Gateway: 10.0.2.138
Hamster
- User = pi
- Password = hamster
Master:
- IP: 10.0.2.n/192.168.n.1
Slave:
- IP: 192.168.n.2
n - stands for agent id, e.g agent7 will have 10.0.2.7/192.168.7.1
Low level controller

Description
The LLC board is responsible for interaction with hardware components such as:
- Motors (drive and steering)
- Encoders (mainly used for PID controller)
- IMU
- Battery monitoring
- Cut-off (shuts down the platform when battery goes below certain voltage)
The LLC is connected to master computer via UART (serial)
A built-in switch is also provided for the possibility of loading new firmware (voids warranty, can be provided per request)
Server
Description:
Usually runs ROS master services, it also loads and publishes the map for localization
Note: hamster robot may be configured to use local ROS master to avoid using dedicated server for this purpose
Packages:
Master
Description:
Majority of hardware is connected to the master pc, it also acts as network gateway for slave
Hardware
- WiFi
- Low level controller (via UART)
- LiDar (USB)
- Ethernet (to slave)
Slave
Description
GPS data broadcaster
Hardware
- GPS
- Ethernet (to master)
Subcategories
This category has the following 5 subcategories, out of 5 total.
Pages in category "Hamster"
The following 14 pages are in this category, out of 14 total.