HamsterAPIJavaEclipse
Eclipse configuration
The following steps were written based on Eclipse Neon.2 (4.6.2).
Hamster API
In order to use the Hamster API with Eclipse, you’ll need to add the .jar files to your project’s build path.
Follow the steps bellow to configure your project:
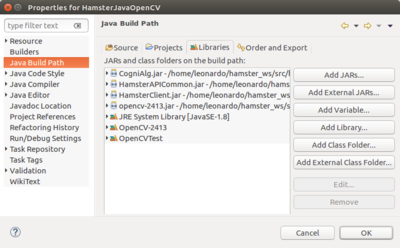
- Open your project’s properties on Eclipse;
- Select “Java Build Path” and then select “Libraries”;
- Select the option “Add External JARs...”
- Go to your Hamster workspace and then go to de HamsterJavaInstall directory;
- Add CogniAlg.jar, HamsterAPICommon.jar and HamsterClient.jar files as libraries to your project;
- Apply the changes and then add the import statements you will need on your project. Ex:
<syntaxhighlight lang="java" line='line'> import com.cogniteam.HamsterAPIClient.Hamster; import com.cogniteam.HamsterAPICommon.Common.Log; import com.cogniteam.HamsterAPICommon.Messages.Image; import com.cogniteam.HamsterAPICommon.Parameters.HamsterClientParameters; </syntaxhighlight>
OpenCV library
In order to run the examples which use OpenCV, you’ll need to create a new User Library for OpenCV and then add its .jar file.
Follow the steps bellow to be able to use OpenCV with Eclipse:
- Open your project’s properties on Eclipse;
- Select “Java Build Path” and then select “Libraries”;
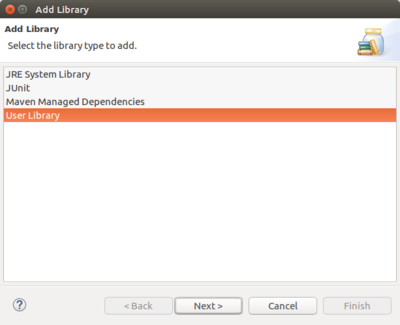
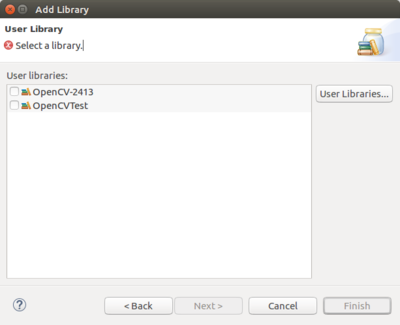
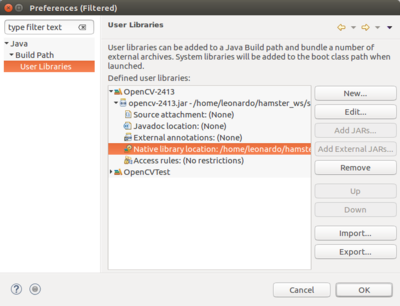
- Select “Add Library”, then “User Library” and then “User Library” again;
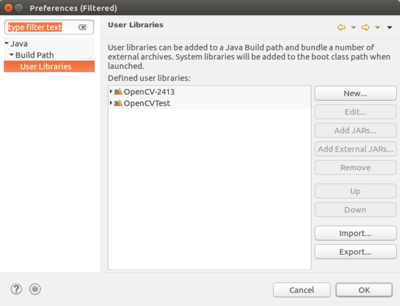
- Create a new library called "OpenCV-2413";
- Select the new library and choose “Add External JARs...”;
- Choose the opencv-2413.jar file inside Java/HamsterJavaInstall/lib/;
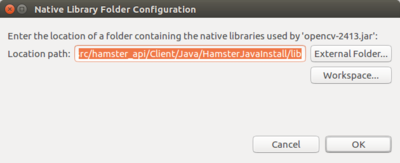
- Then double click “Native library location” and add an “External Folder”, where the opencv-2413.jar file is located;
- Select the new user library, apply the changes to the project and add the import statements you will need on your project Ex:
<syntaxhighlight lang="java" line='line'> import org.opencv.core.Mat; import org.opencv.imgproc.Imgproc; </syntaxhighlight>
